 /English


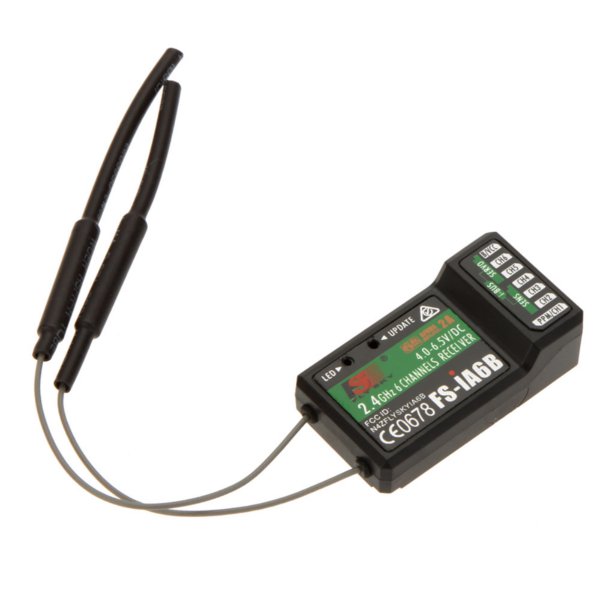
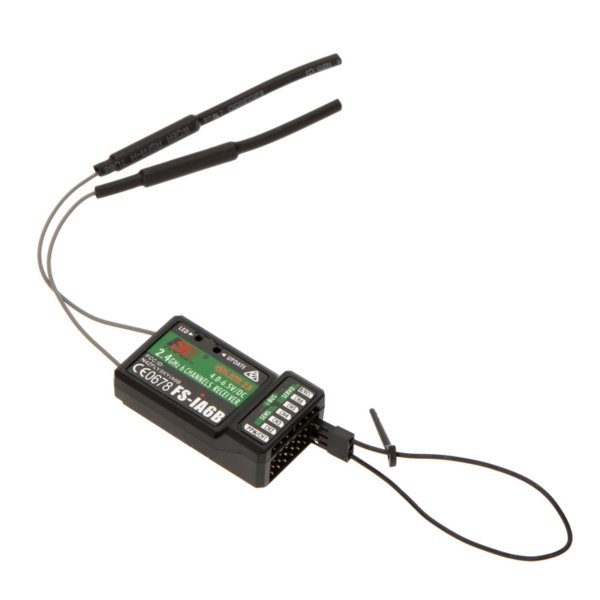
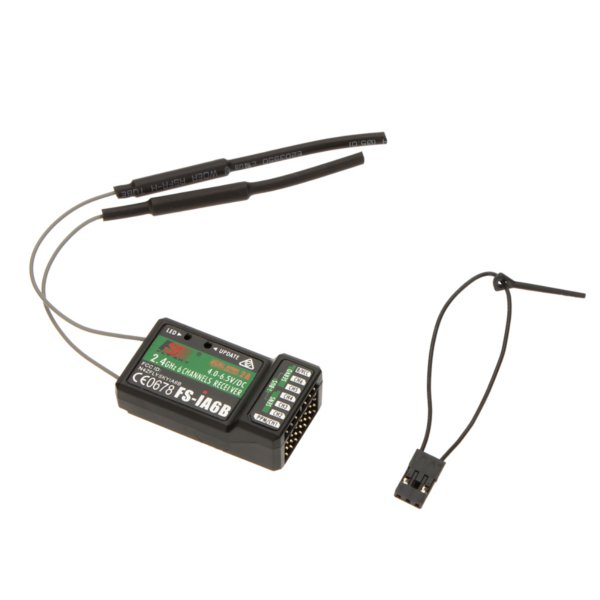
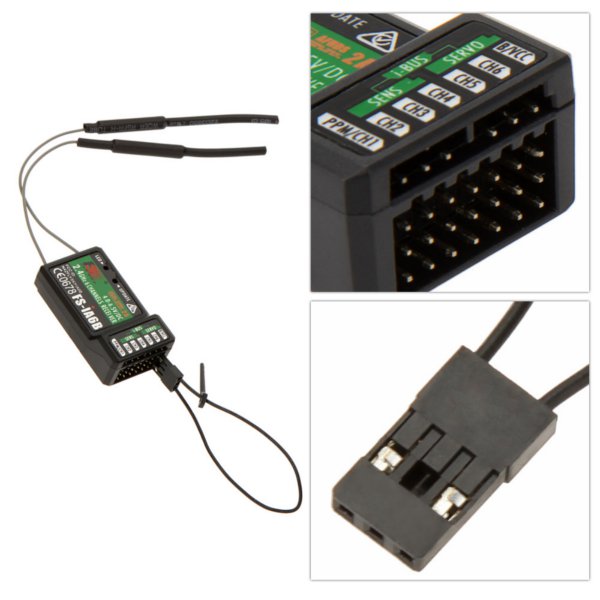
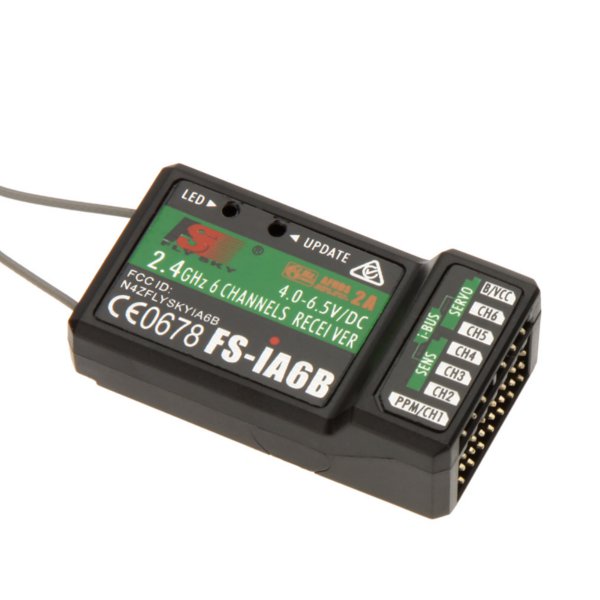
FlySky 2.4G 6CH FS-iA6B Receiver PPM Output With iBus Port
| Qty: | 4-7 | >=8 |
| Price: | $8.36 | $7.90 |
- weight: 485 g
Description:
Brand Name: Flysky
Item Name: FS-iA6B
Channel: 6
Frequency Range: 2.4055--2.475GHZ
Band Width Number: 140
Transmitting Power: ≤ 20dBm
RF Receiver Sensitivity: -105dbm
2.4G Mode: The second generation of an enhanced version of the automatic FM digital system
Encoding: GFSK
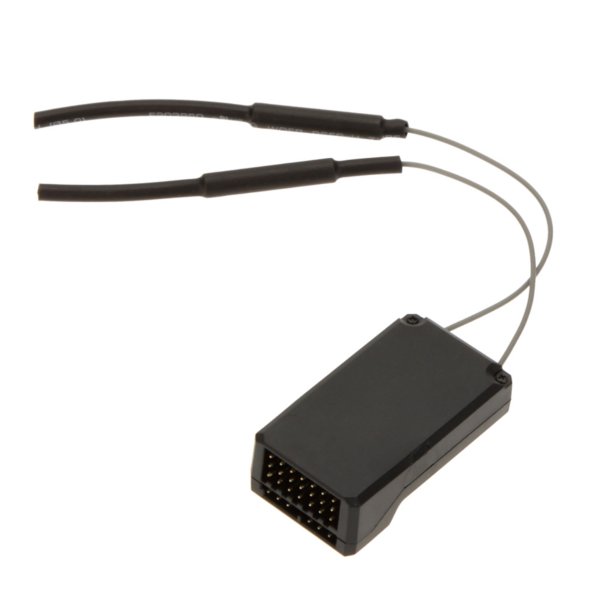
Antenna Length: 26mm * 2 (dual antenna)
Input Power: 4.0-6.5V DC
Dimension: 47 x 26.2 x 15mm
Weight: 14.9g
Color: Black
i-Bus Interface: Yes
Data Acquisition Interface: Yes
Model Type: Airplane / Gliders / Helicopter
Compatible Transmitter: Compatible with FS-i4,FS-i6,FS-i10,FS-GT2E,FS-GT2G
Package Included:
1x Flysky FS-iA6B receiver
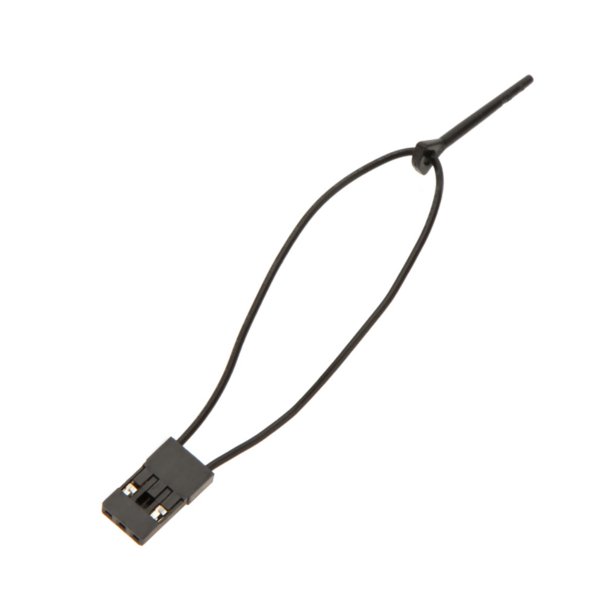
1x Bind plug
 ,
, ,
, ,
, ,
, ,
, ,
,
More Details


customers reviews ( 10 )
By hectorbriquet
By Erasmo
By 3DFlyZone
By 3DFlyZone
By deraaa
By cristtian
By davec
By mikes
By EDJEVOET
By Toots


