 /English


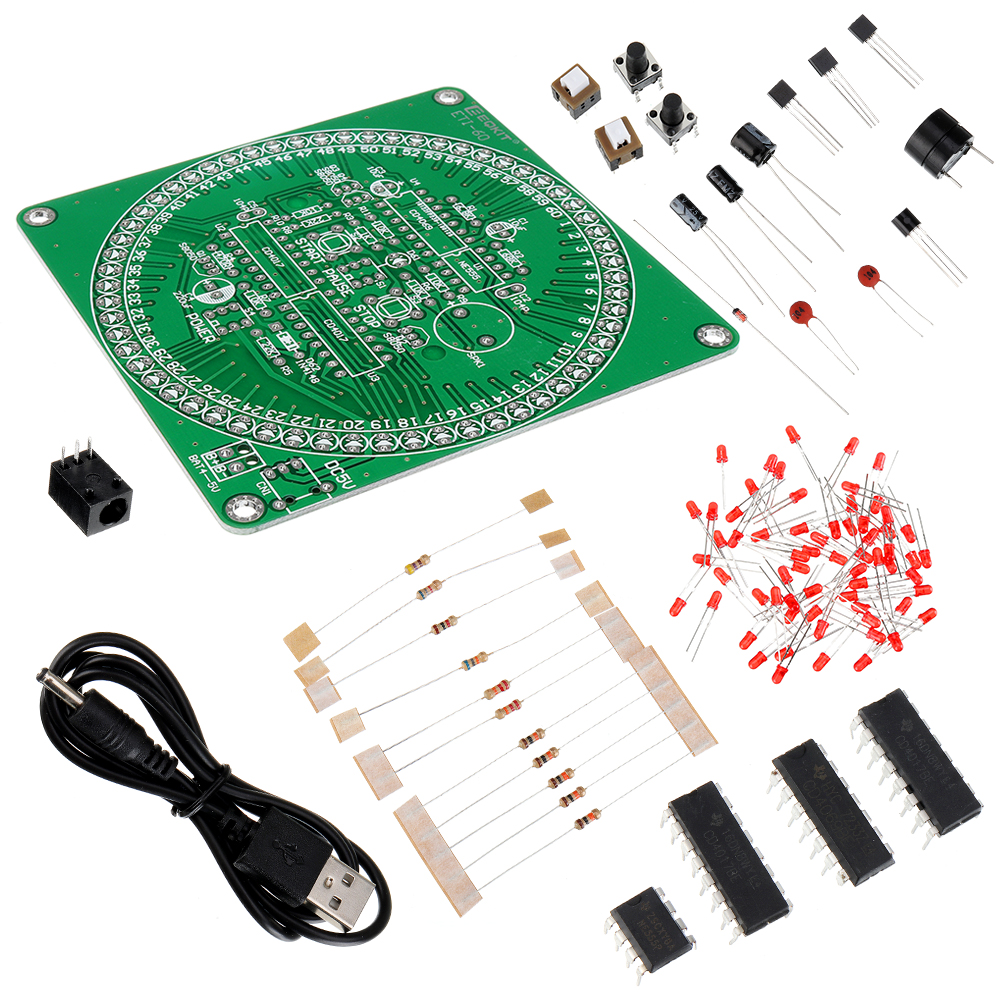
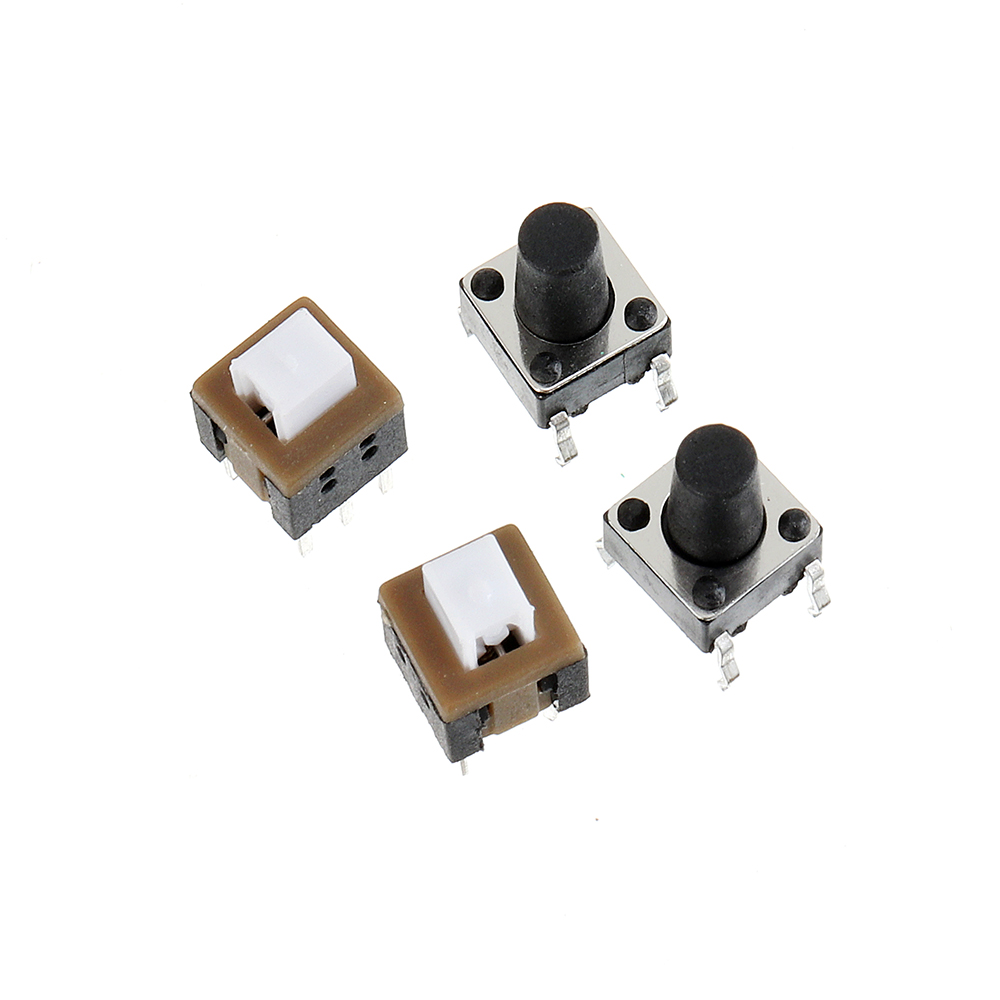
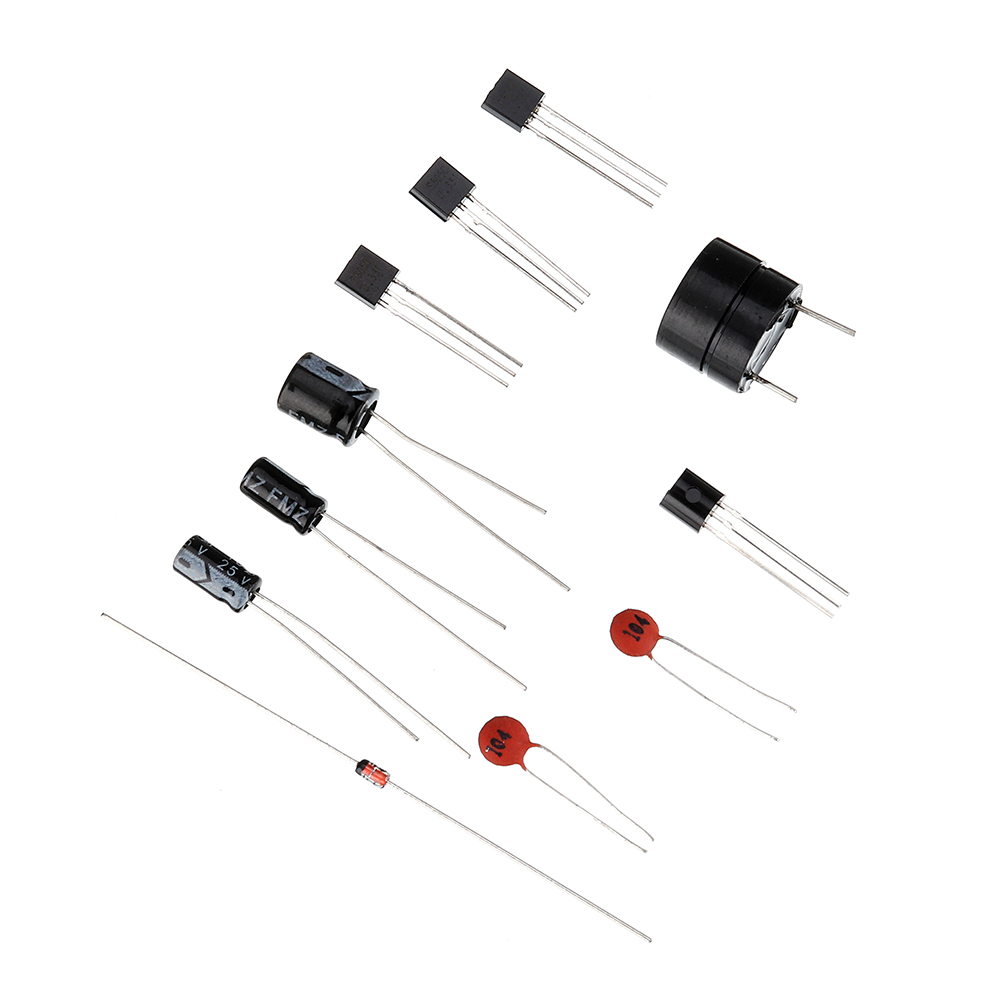
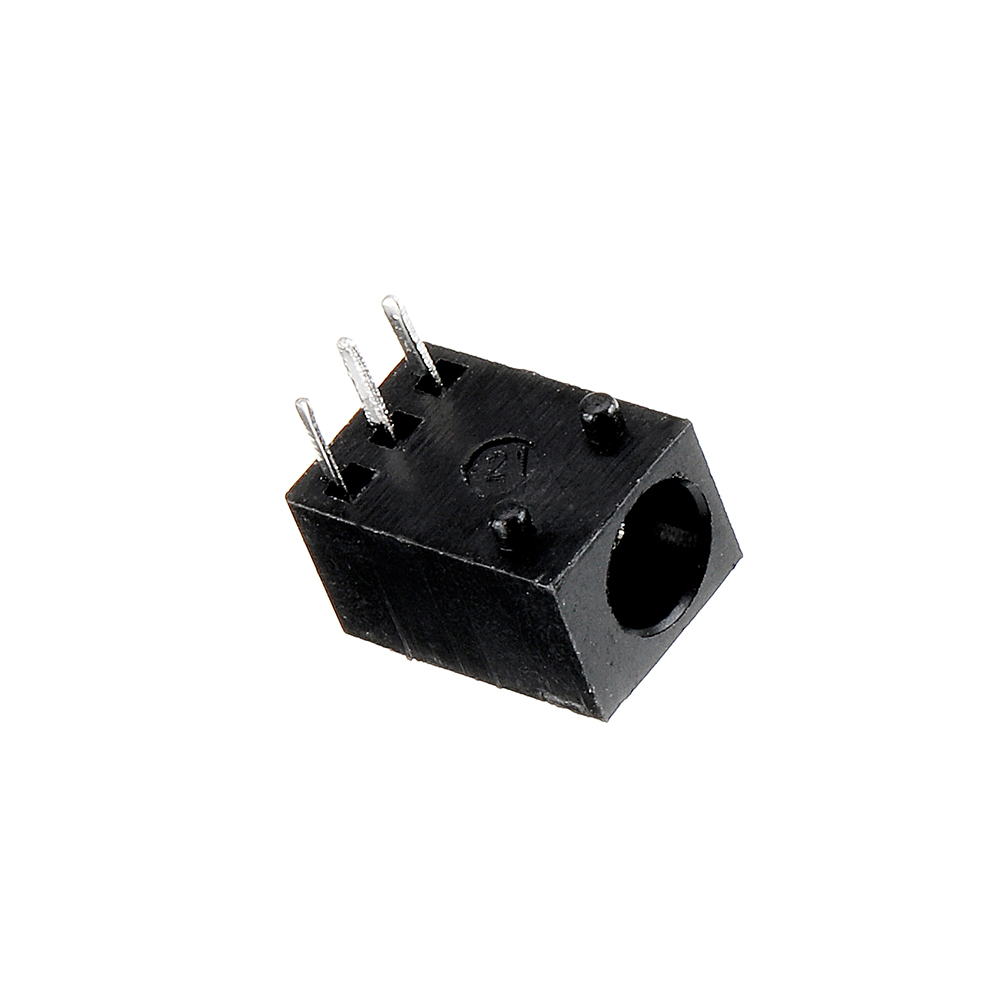
3pcs EQKIT® 60 Seconds Electronic Timer Kit DIY Parts Soldering Practice Board
3xSKU943073
2 Reviews
0.00
Wholesale Prices :
| Qty: | 4-7 | >=8 |
| Price: | 0.00 | 0.00 |
Qty:
In stock
30-day Return Policy,
Learn More
Description
- weight: 485 g
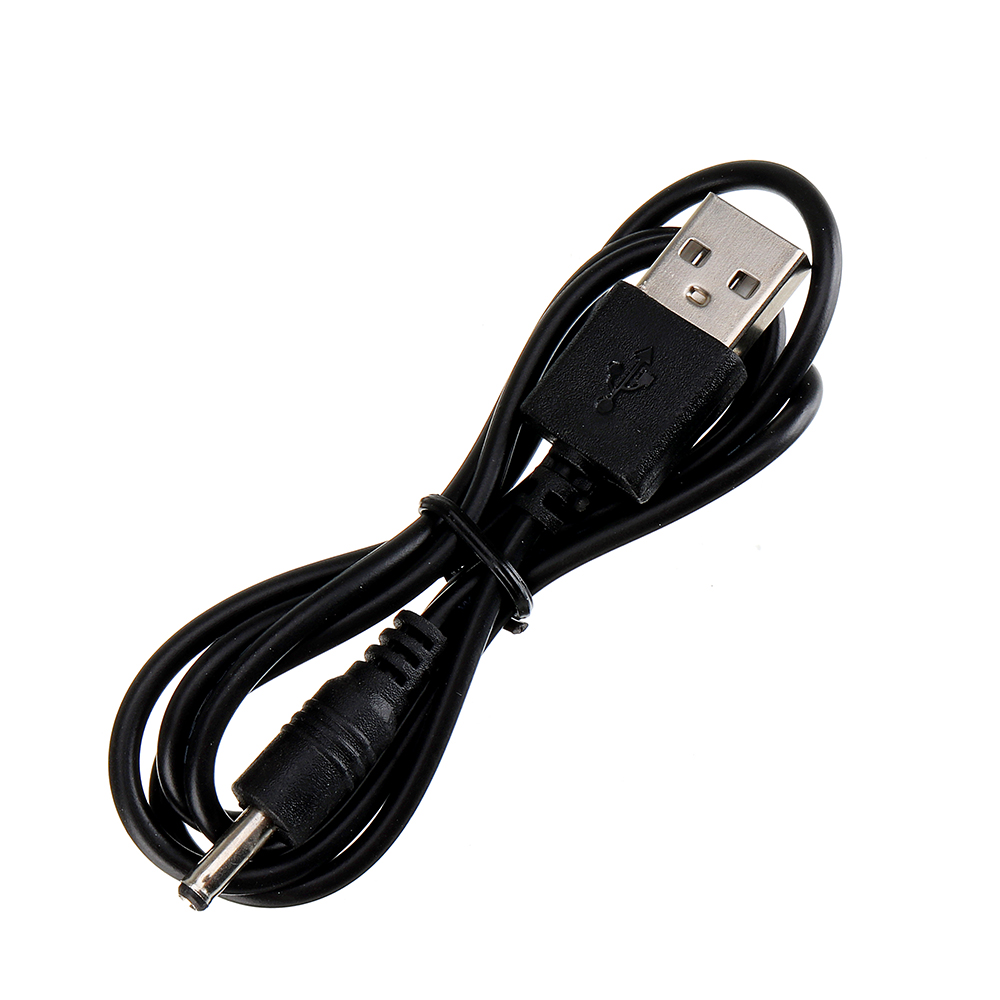
Operating voltage: DC5V
Standby current: ≤8mA
Working current: ≤10mA
Countdown: 60 seconds
Countdown ends prompt: three alarms
Soludering difficulty: General
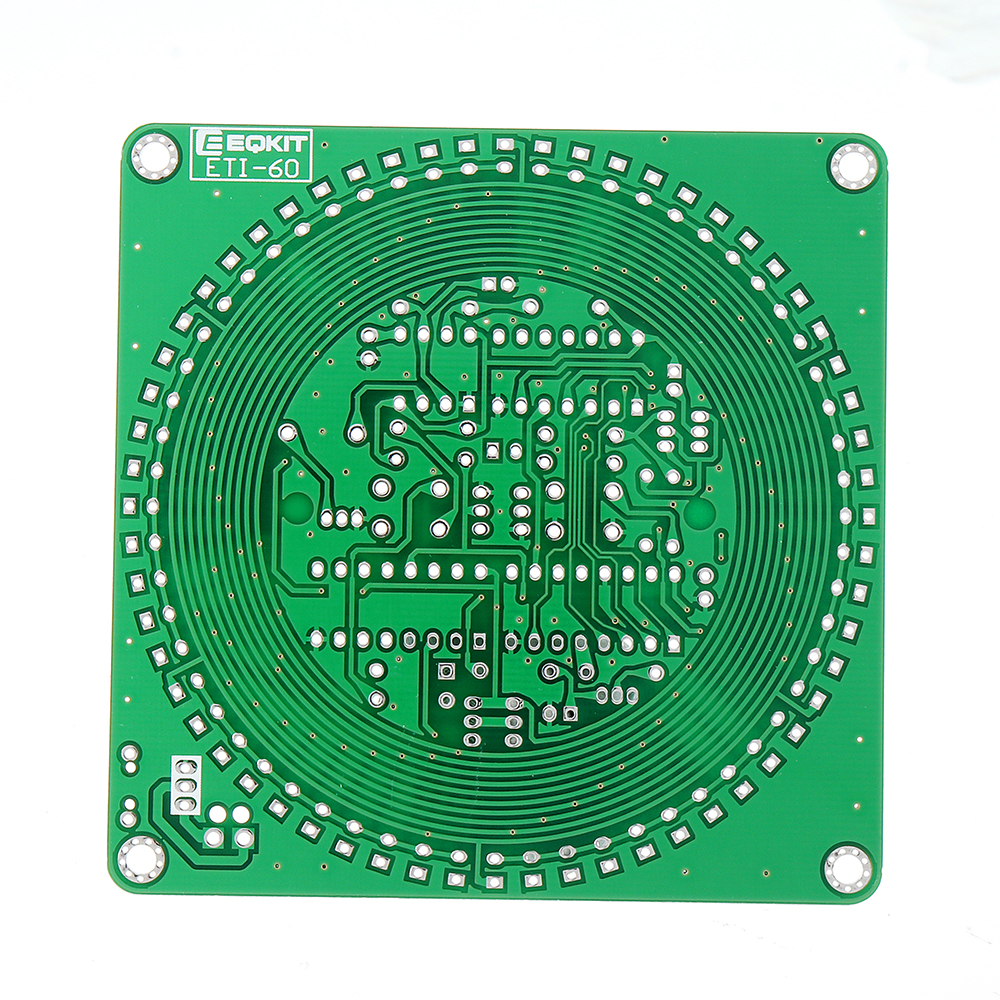
Board size: 84 x 84mm
Note: Electronic production kit, require buyer soldering assembly.
Note: Electronic production kit, require buyer soldering assembly.
Package included:
3 x Electronic Timer K

More Details


customers reviews ( 2 )
5
/ 5.0
5 stars
100%
4 stars
0%
3 stars
0%
2 stars
0%
1 stars
0%
By PhilW
Very nice project, I bought three of them. Thanks
2022-05-06 00:00:00
By Hunzilla
The kit should be assembled using the assy instructions available from the Bangood website EXCEPT Step 4, which should be carried out in accordance with photo 1 ie S1 fitted rotated through 180 degrees for fitting, with respect to Bangood instructions for Step 4.
Once the assembly and checking for (plus rectifying if necessary) any solder bridges. then the user can proceed with powering up when the USB A plug to DC plug is connected appropriately and S1 ( PAUSE) is in the off position. Press S2 in and LED D60 illuminates (see photo 2). Press the START button and LED D1 followed by D2, then D3 etc sequentially illuminate (see photo3). Whilst this is happening press S1 (PAUSE) in and the display will be held with one of the LEDs on the ring illuminated, plus LED D61 will flash at1Hz (see photo 4). Depress S1 (PAUSE) and the count will continue with LED D61 no longer flashing (see photo 5). Pressing the STOP button whilst the device is counting or paused resets it to the starting position (see photo 1) -so it should be called a RESET button and the device should be called " A 60 Second Count-Up Timer" as the count is clockwise from LED D1 to LED D60. If allowed to complete a full count from LED D1 to LED D60 an alarm sounds for a few seconds after D60 is reached and then the sound disappears D60 remaining illuminated until powered off or the count is restarted.
2020-08-18 00:00:00


